Whether you’re revamping your patio, creating a pathway, or designing an enticing outdoor living space, proper installation for porcelain paving is crucial to achieve long-lasting results. Take a look through our step-by-step guide on how to lay porcelain tiles outside, so you can transform your outdoor area into a stunning and functional area.

Benefits of using porcelain
Over recent years, porcelain tiles have gained signiciant popularity as an excellent outdoor flooring solution.
Porcelain pavers offer a durable, slip-resistant, low maintenance and aesthetically pleasing option for outdoor paving.
Renowned for their exceptional durability, porcelain paving is manufactured using high-quality materials that are resistant to extreme weather conditions, fading, scratching, stains, algae and mildew.
It’s this durability that helps porcelain to maintain its appearance and structural integrity over time. No sealing is required as the non-porous nature of porcelain tiles make them resistant on their own.
Porcelain pavers come in a variety of different sizes, shapes, colours and patterns, allowing you to create a unique and visually appealing outdoor space. They are an environmentally friendly choice, relatively easy to install and known for their longevity.
While porcelain tiles may cost more when compared with other paving materials, their durability and low maintenance requirements make them cost-effective in the long run.
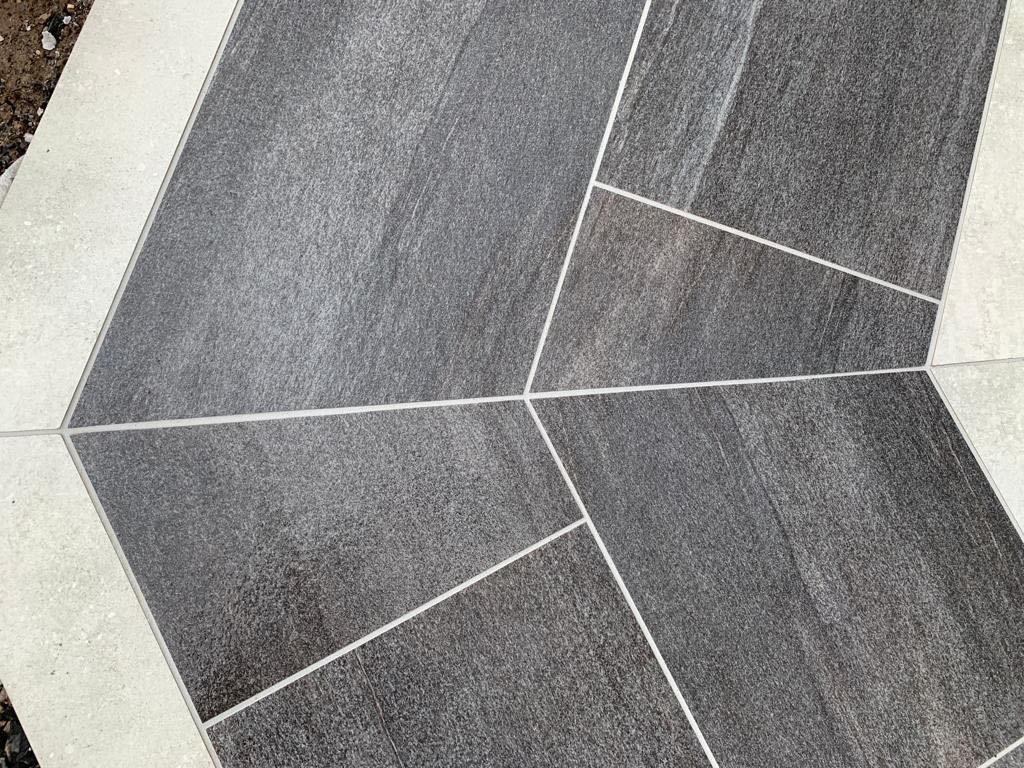
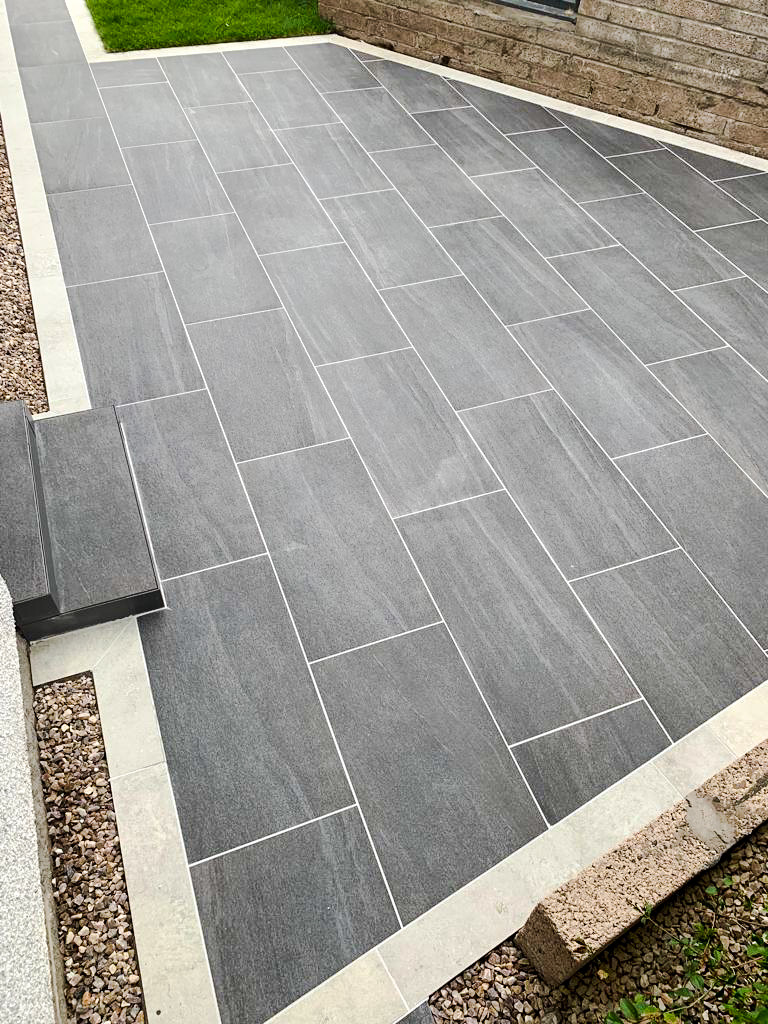
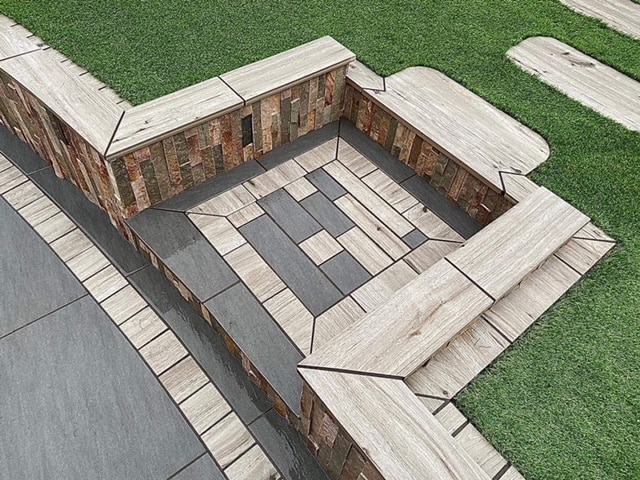
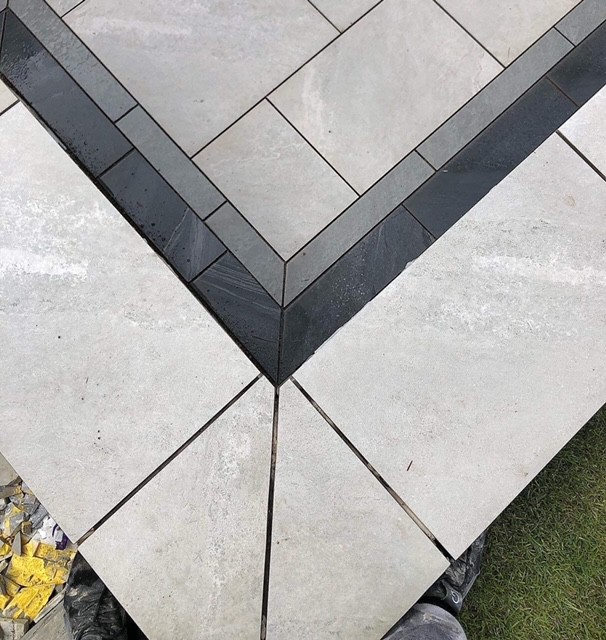
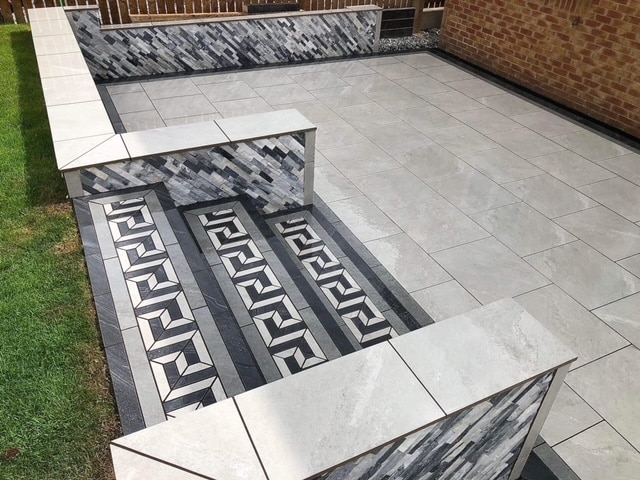
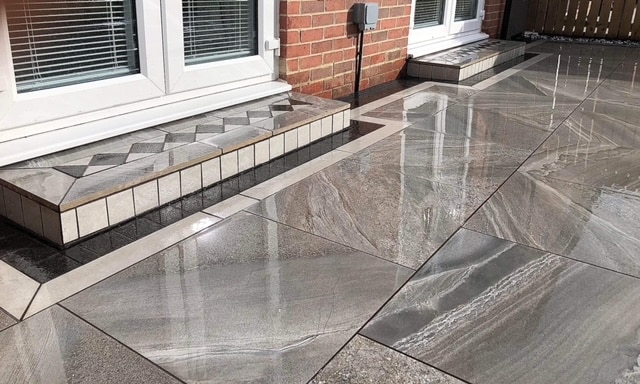
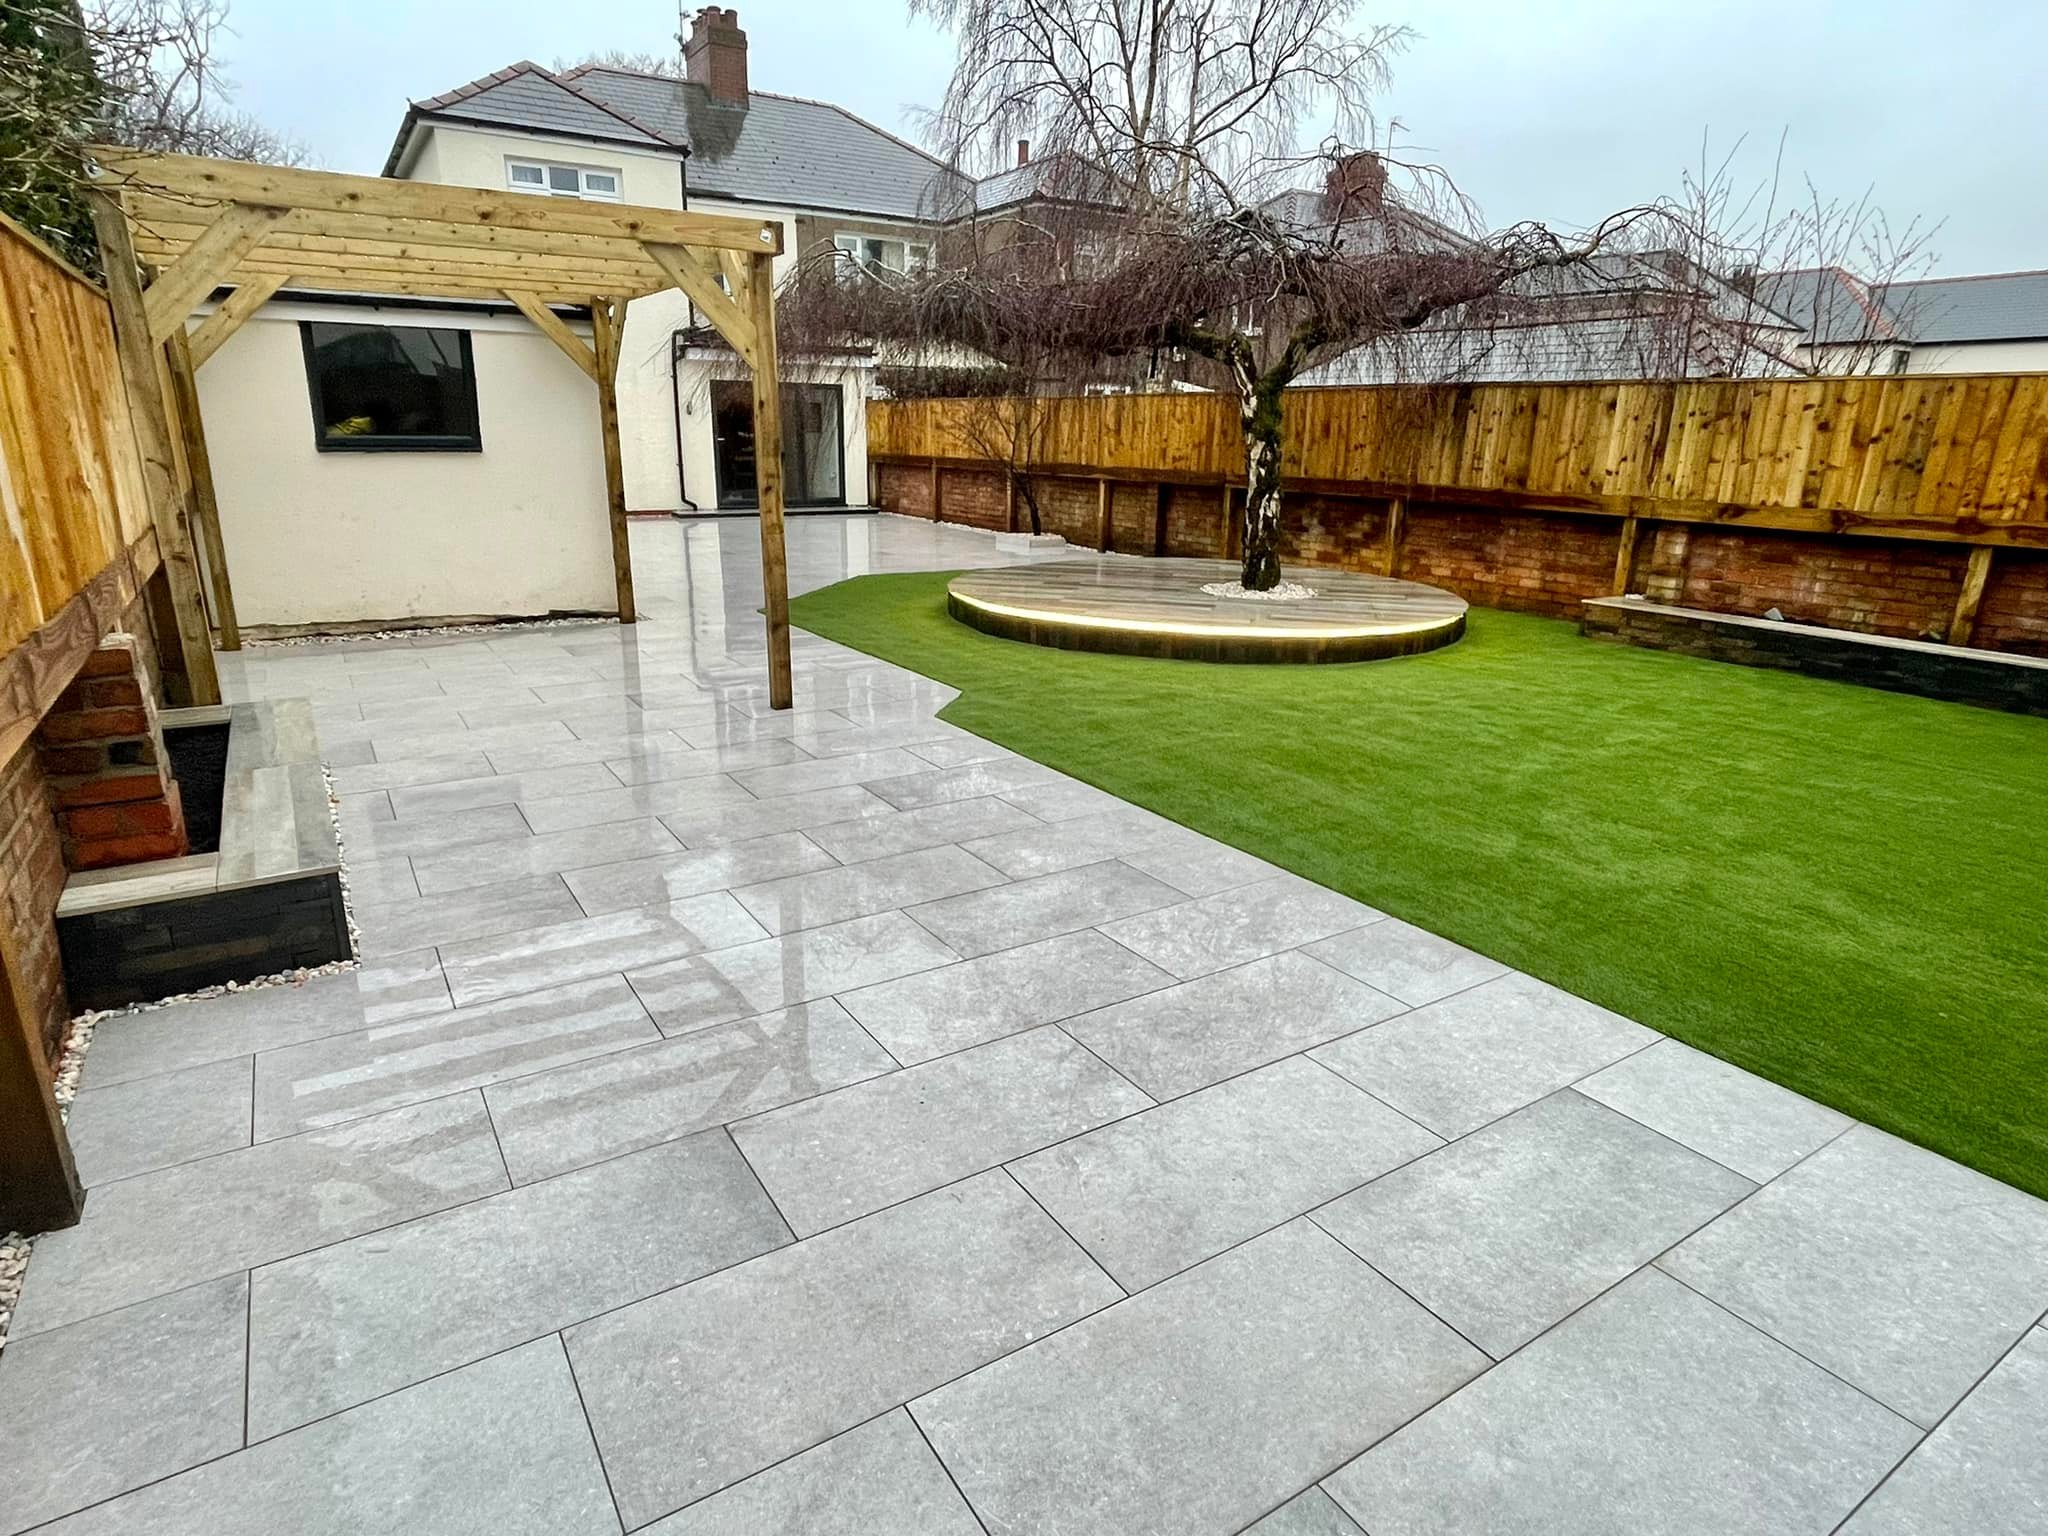
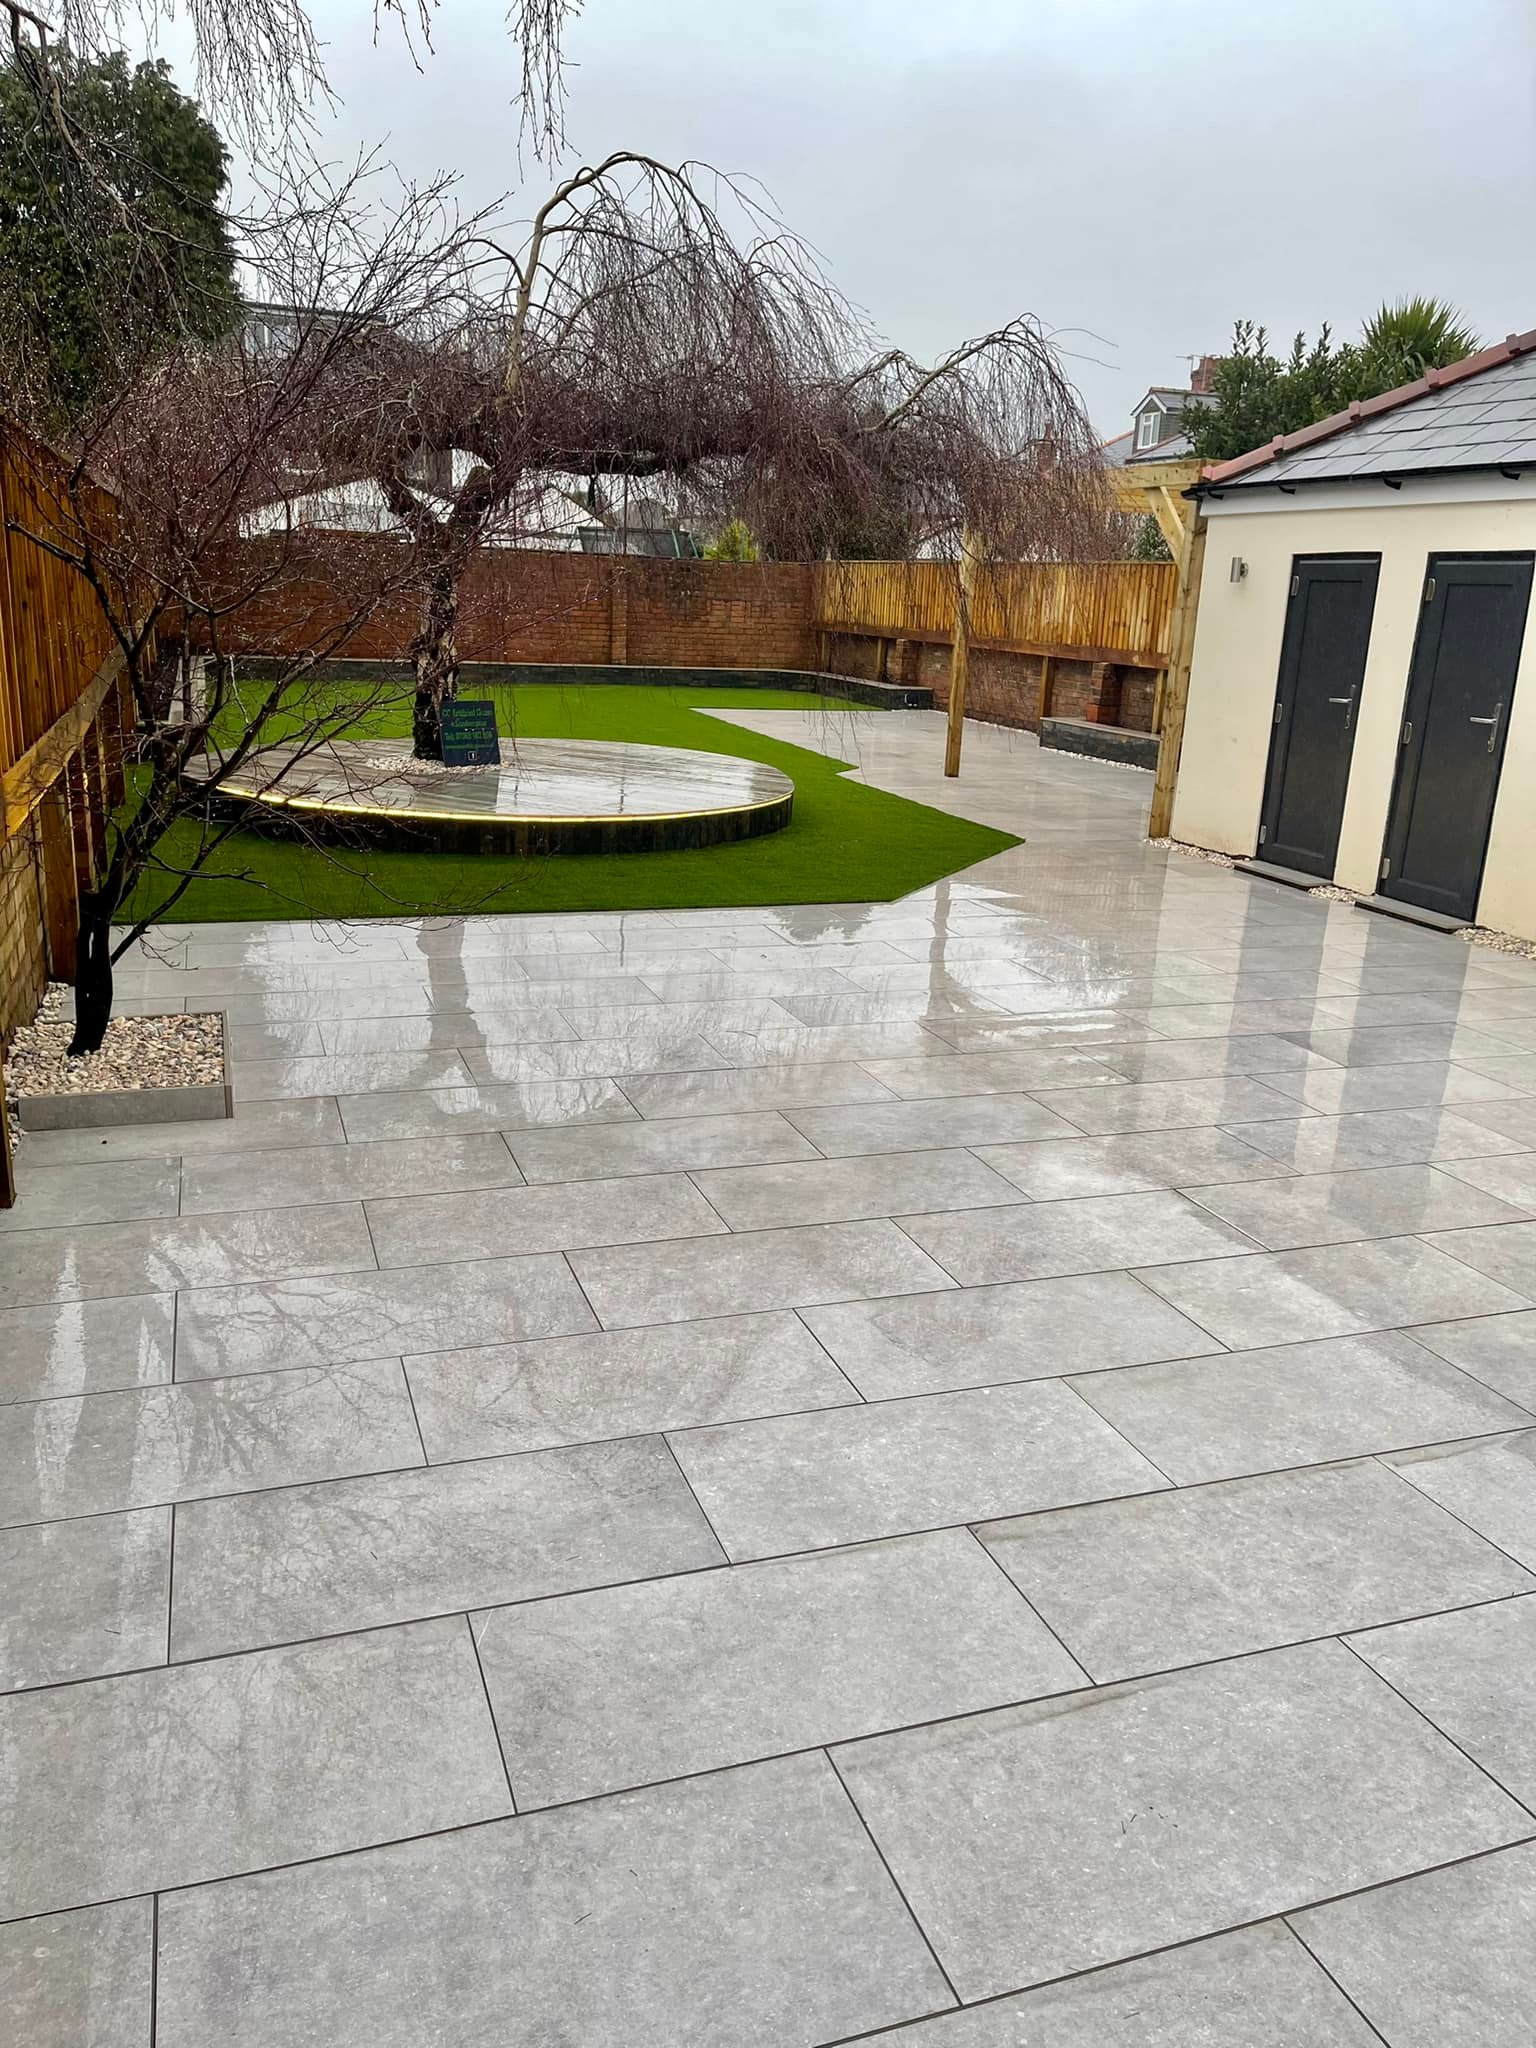
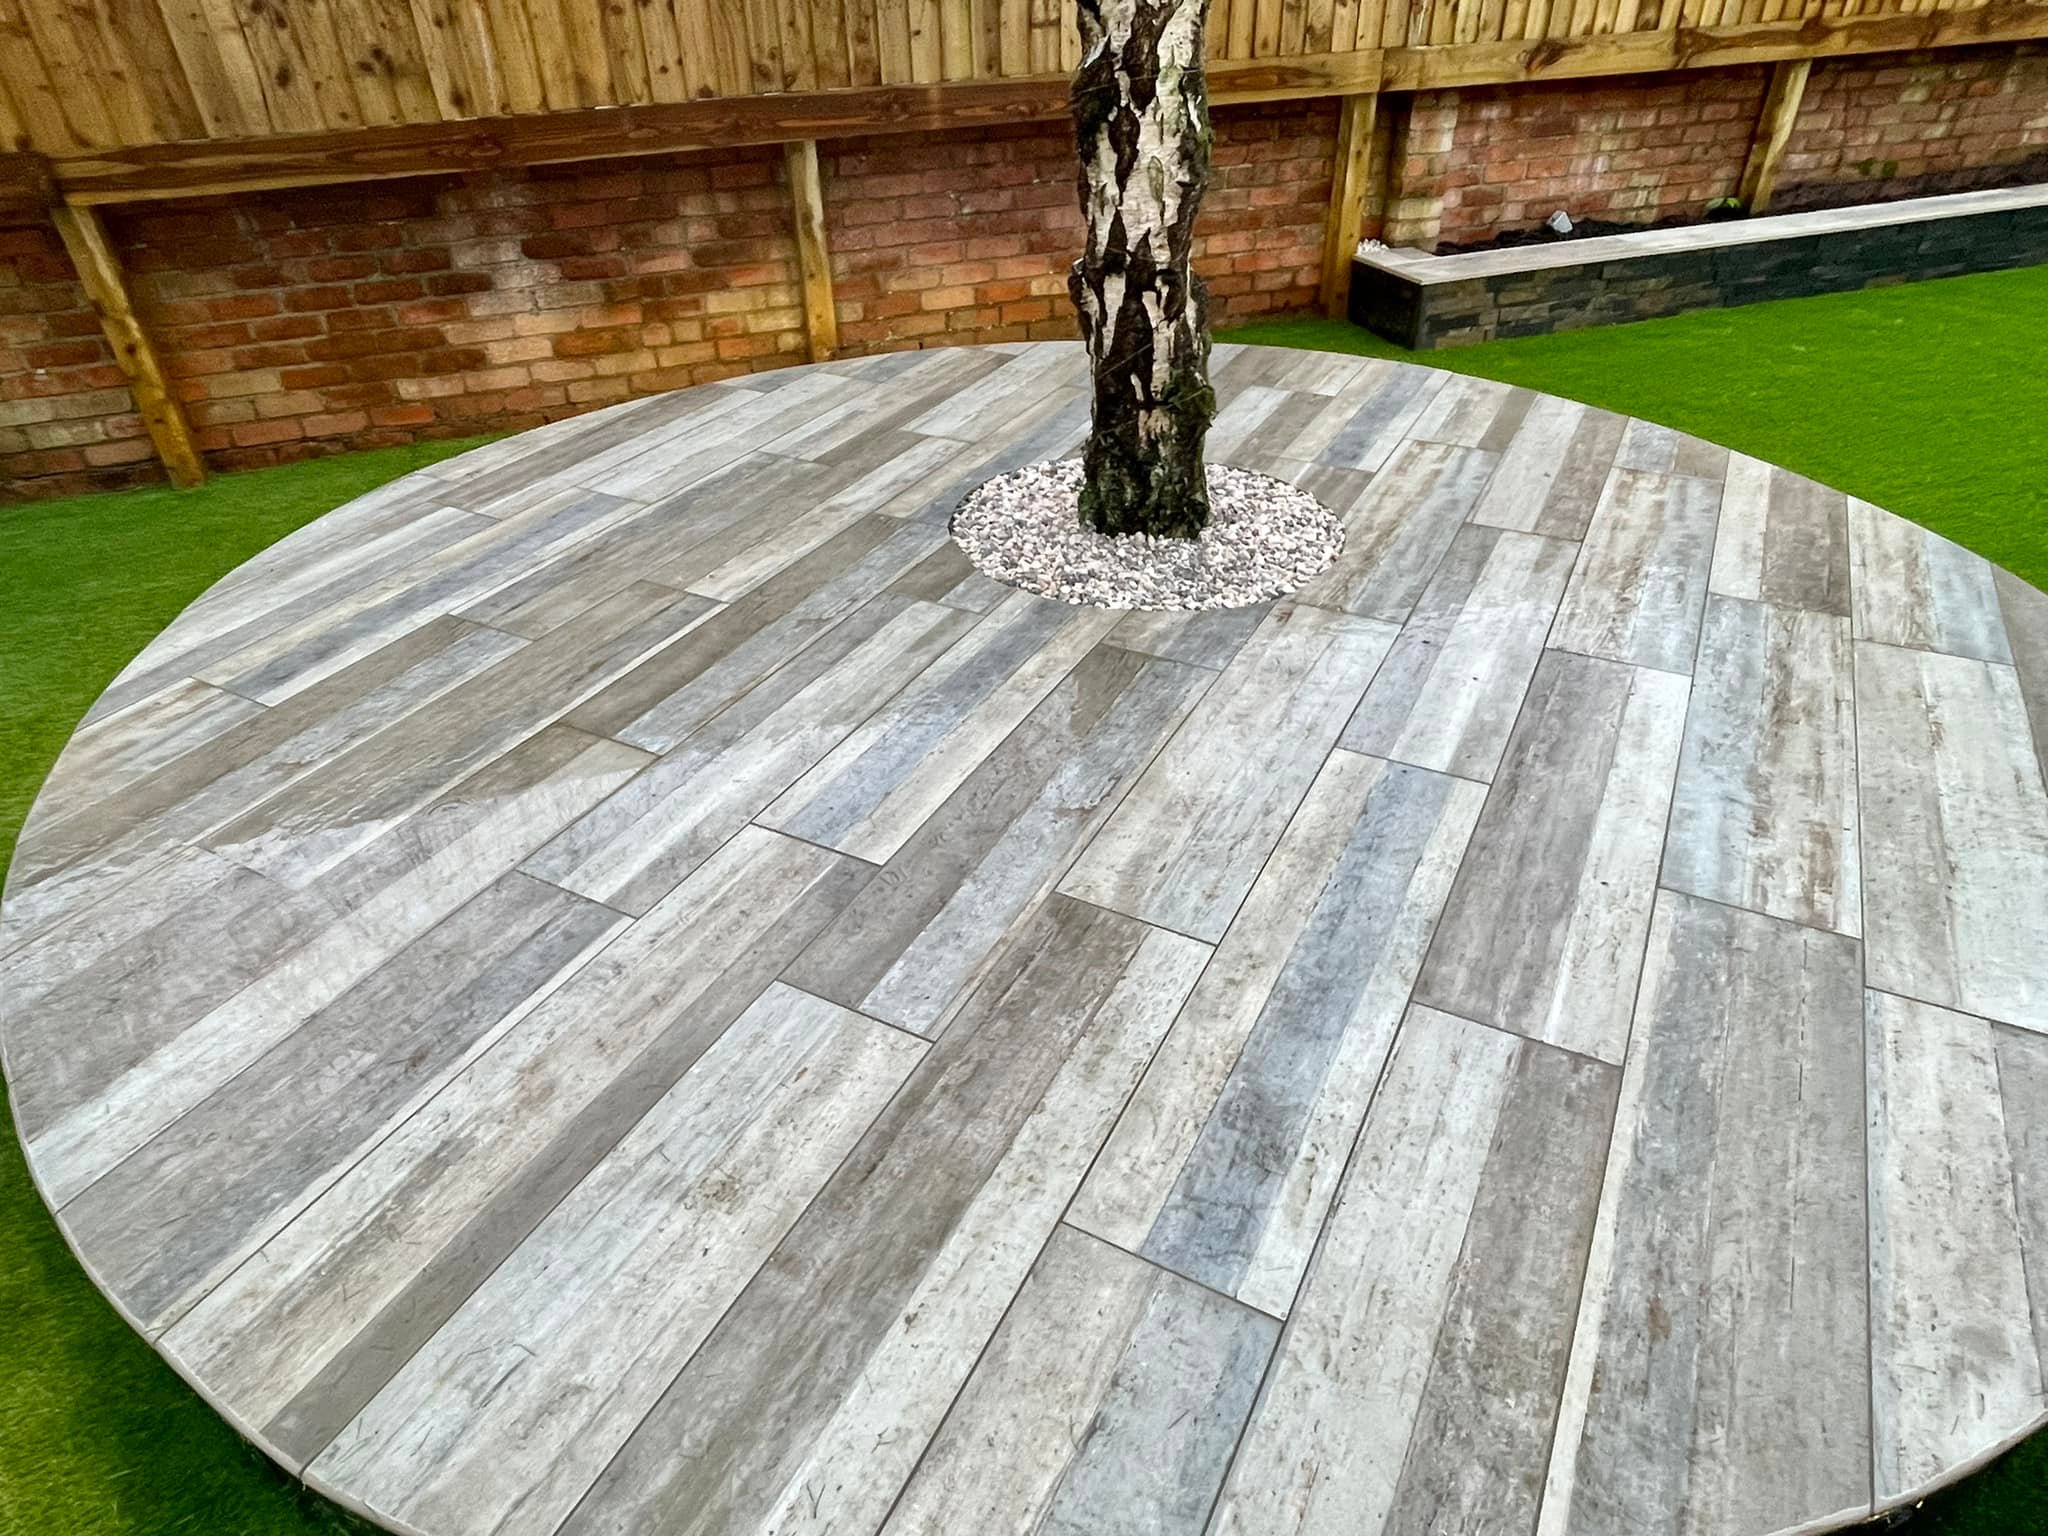
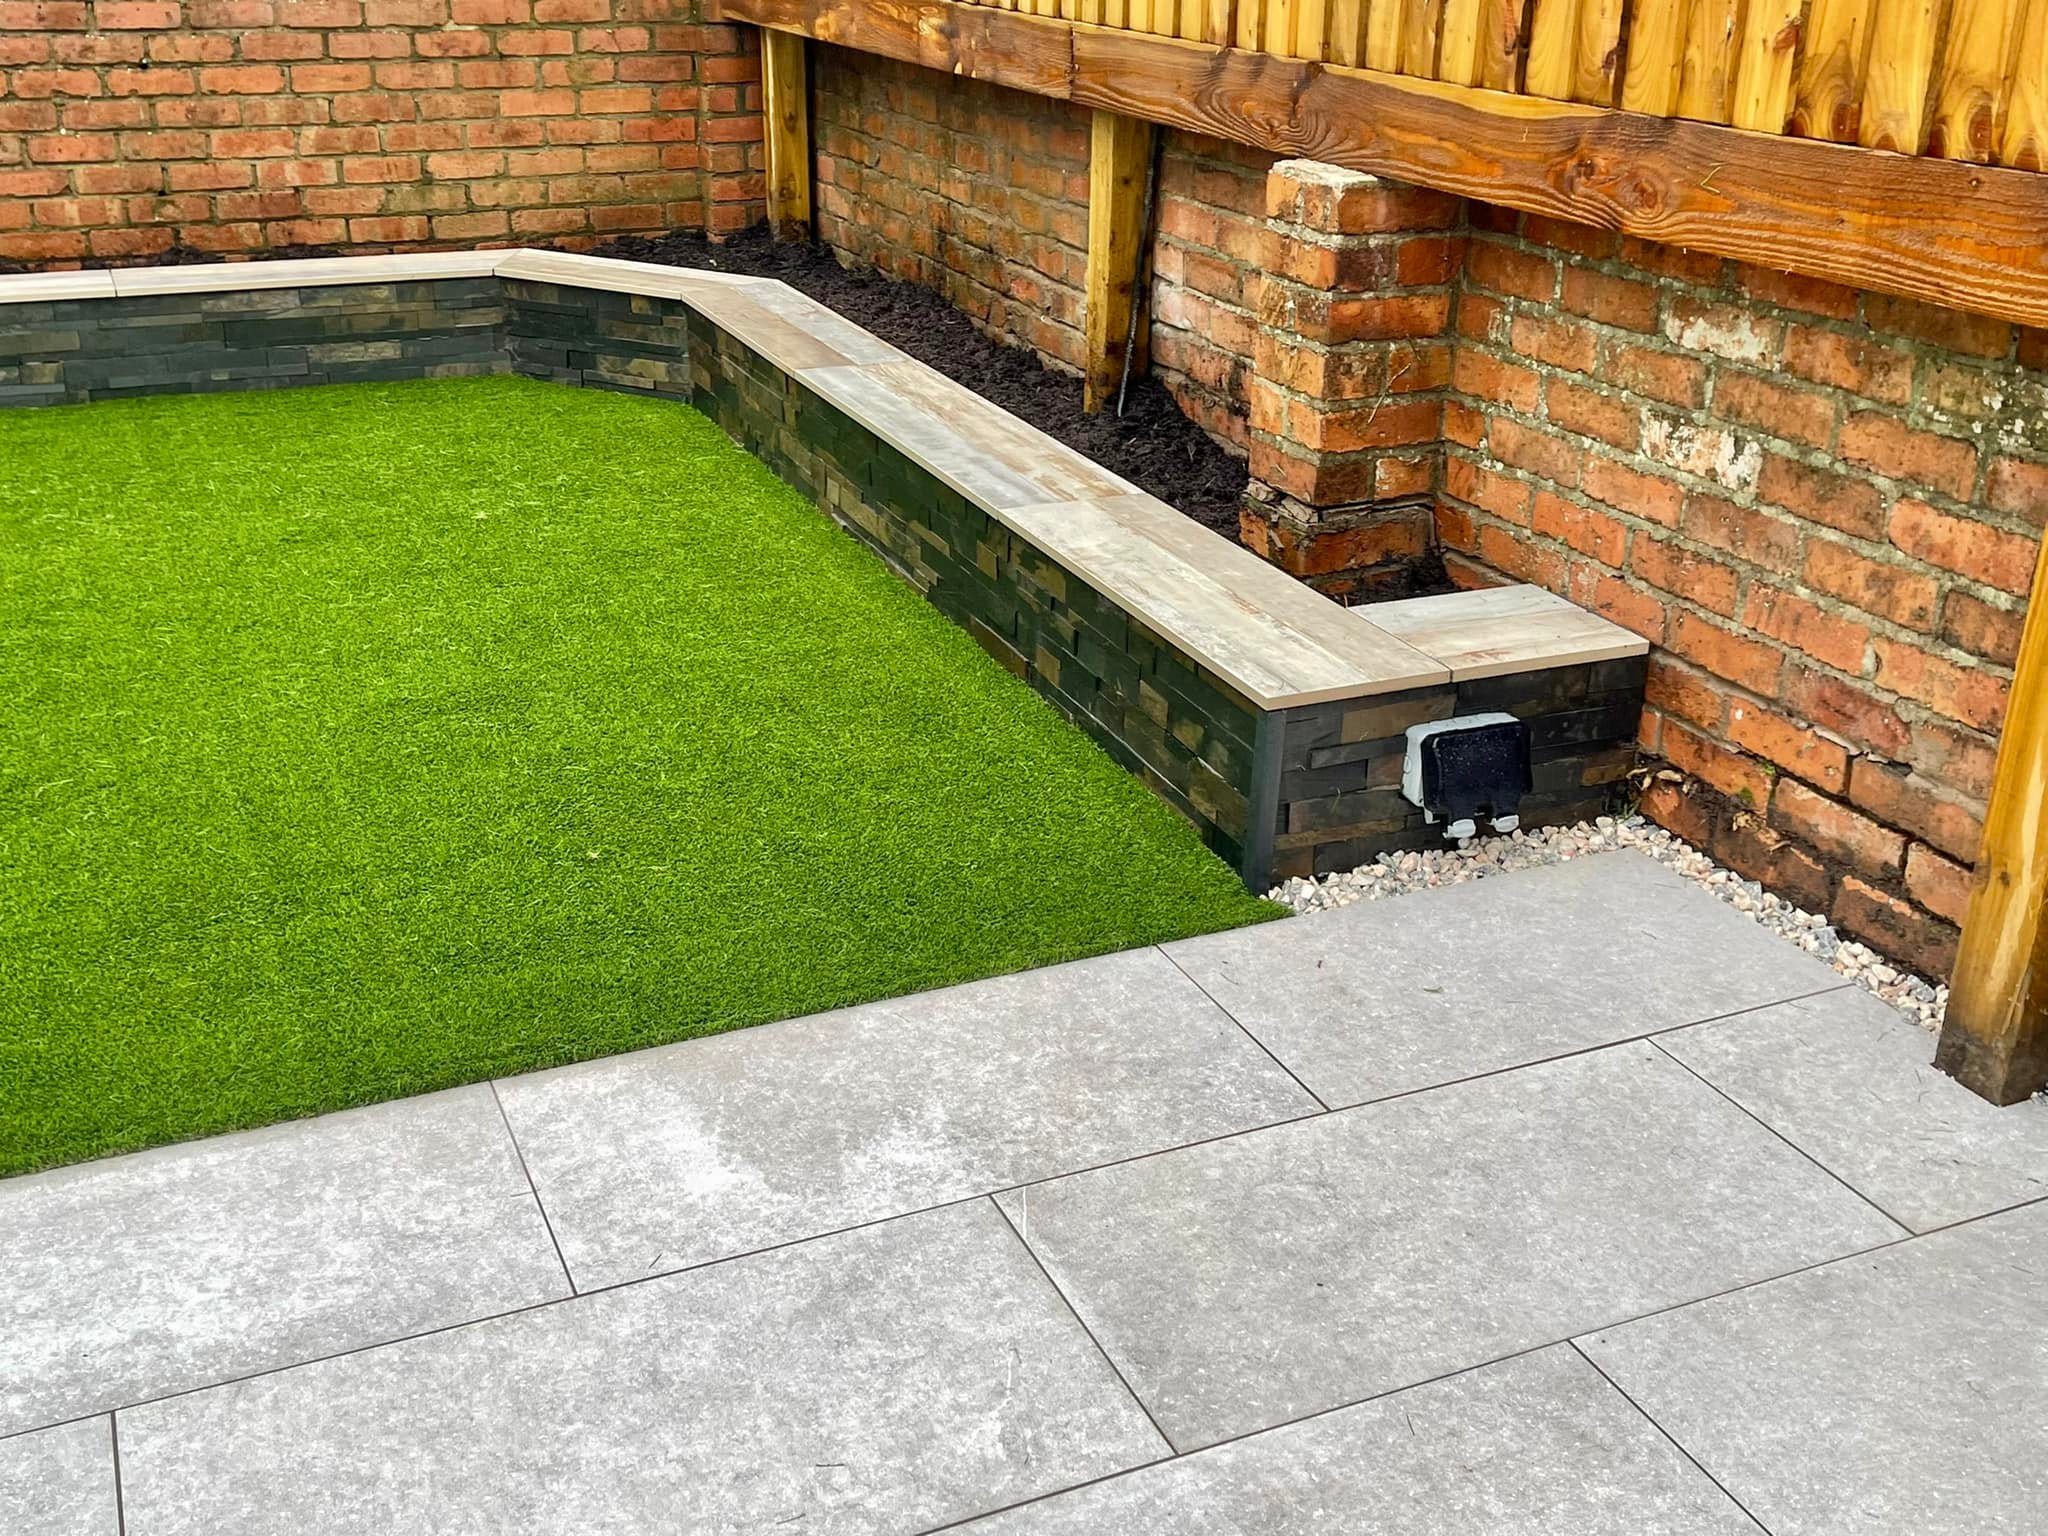
Here are just a few examples of the versatility of porcelain paving.
How to lay porcelain tiles outside
Installing porcelain paving is relatively straightforward. The interlocking or modular nature of some porcelain pavers simplifies the installation process, resulting in time and cost savings.
It’s important to create an adequate bedding layer to reduce slippage and movement.
While porcelain can be laid on sand, a full-contact bedding mortar or a pedestal system are recommended for a long-lasting professional project.
Read our comprehensive guide to laying porcelain paving in outdoor spaces to find out more.
Step 1: Planning and preparation
Before starting the installation process, it is essential to plan and prepare for the project.
Begin by measuring the area where you intend to lay the porcelain tiles. This will help you determine the number of pavers needed.
Consider factors like the slope, drainage and the purpose of the space. Proper planning will enable you to create a visually appealing and functional design.
If the paving is to be installed directly adjacent to the house, be aware of building regulations related to damp-proof coursing. These regulations state that paving must be 150mm below any damp-proof course. Complying with this will help protect the house from damp.
If the patio is not immediately adjacent to a solid construction such as a house or garden wall, allow 150–200mm for kerbs or haunching.
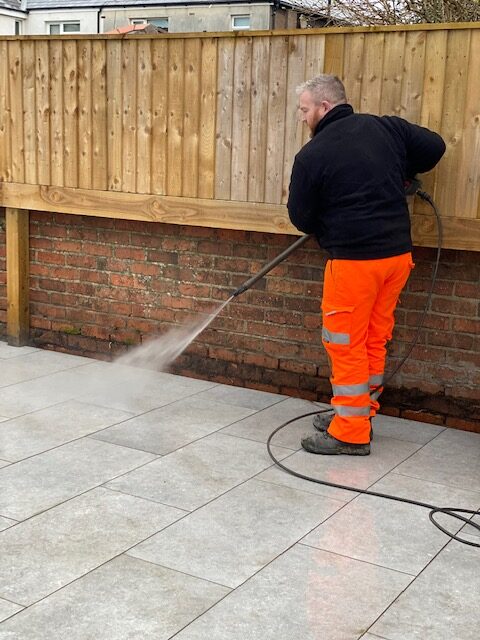
Step 2: Excavate and prepare the base
Next, you need to prepare the ground for porcelain pavers.
Start by removing any existing vegetation, rocks, or debris from the area. If necessary, excavate the soil to achieve the desired level.
Ensure that the excavation allows space for the base layers, not just the thickness of the pavers. As an example for pavers with a thickness of 20mm, dig at least 150mm below the proposed patio height. This allows 20mm for pavers, 30mm for bedding layer and 100mm for sub-base.
After excavation, create a strong and sturdy base by adding a layer of crushed stone or gravel (MOT Type 1 or General Sub Base), installed in two layers.
Create even layers when raking out the aggregate. Then use a plate compactor to compact the loose material to a compressed height of 50mm. Repeat this process again to achieve a stable foundation. The sub-base must consist of a minimum of 100mm of compacted aggregate. You risk an unstable sub-base if the materials are not fully compacted.
For suitable water drainage, your patio must consist of a 15mm fall in the sub-base for ever 1,000mm.
Use a tense string line to guide the alignment of the area. When incorporating this fall, you must still make sure that the sub-base is no less than 100mm in depth.
Step 3: Add edge restraints
To prevent the pavers from shifting over time, install edge restraints along the perimeter of the project area. Use materials such as concrete or plastic edge restraints that are sturdy and durable. Secure them firmly into the ground, ensuring they are level and straight.
Step 4: Install bedding layer
Once the edge restraints are in place, add a layer of bedding mortar over the compacted base. This layer provides a perfect bound base for paving to be laid over the top. Aim for a minimum depth of 30mm, but always check the manufacturer’s instructions.

Bedding mortars for porcelain pavers
Step 5: Apply a bonding mortar
Particularly important for porcelain tiles is to apply a layer of bonding mortar (also known as primer) onto the rear side of each slab.
Porcelain is completely impermeable (non-porous) and so lacks the microscopic capillaries found in permeable materials like concrete and sandstone.
Without a bonding agent, such as Pro-Prime, porcelain will fail to bond with the bedding layer below.
This makes using a primer with porcelain paving an absolute necessity: to reduce movement, paving and mortar cracks and even efflorescence.
Apply 1–2mm of bonding mortar with a roller onto the back of each tile and immediately place it on the bedding mortar. Use a Grabo suction lifter so you can apply primer to the very edge of each tile.

Bonding agents for porcelain pavers
Step 6: Lay the porcelain tiles
Now comes the exciting part — laying the porcelain pavers.
Begin at one corner of the project area and work your way across. Place the pavers (painted with primer on the underside) directly on top of the bed, ensuring they fit tightly together. Gently tap each paver with a rubber mallet to ensure they are level and properly settled.
Periodically check the alignment and level of the tiles as you progress. Use a spirit level and rubber mallet to make any necessary adjustments.
If required, you can trim the pavers to fit using a wet saw or specialised porcelain tile cutter. Read our article on how to cut porcelain pavers for more details.
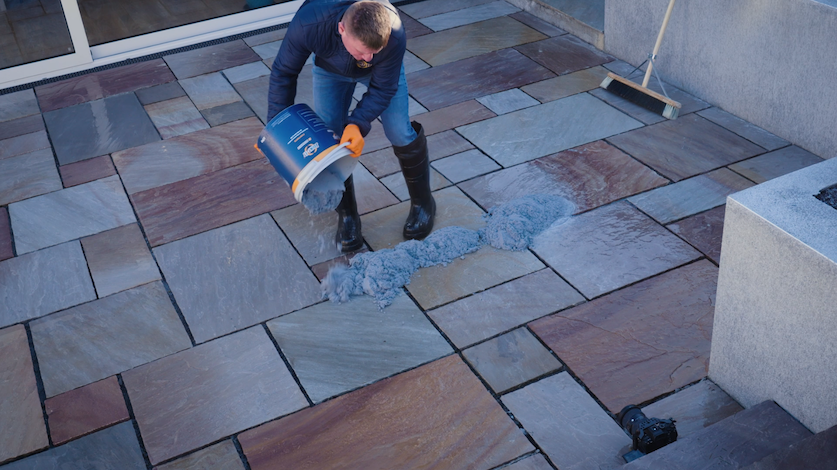
Step 7: Apply the grout
Once all the tiles have been laid and fully cured, it’s time to apply your grout of choice to fill the joints.
Depending on which products you’ve used, the curing process can take 24–48 hours or up to four days if you’re using a sand/cement mortar.
Which grout you choose will determine the longevity of your project. High quality grouts will help to stabilise the pavers, prevent weed growth, and stop any issues with stains or efflorescence from occurring down the line.
Grouting options range from epoxy grouts and finely sanded brush-in grouts, through to cement-based slurry grouts and sand/cement mixes. Pre-made grouts come in a variety of colours to match or contrast with the look of your project.
When it comes to longevity, cement-based grouts such as Flowpoint offer impressive guarantees due to the product’s extensive product testing for it to meet the British Standard BS 7533.
Follow the manufacturer’s instructions.
Grouts for porcelain paving
When using a sand/cement mix, you may have the option of applying the grout using a either a wet or dry grouting method. Which you choose mostly depends on a couple of factors.
The wet method of grouting is recommended when you have installed permeable bedding materials. An easier way to apply grout, this method allows the product to move deeper into the joints. It will protect the tiles from oils and help the cleaning process after installation.
Always use the dry method if you have installed impermeable bedding materials – otherwise the water in the wet slurry grout will not be able to drain through the joints.
You can also use the dry method when the outdoor temperature is below 3ºC to avoid the slurry grout from freezing.
Get in touch for more porcelain advice
Laying porcelain tiles outside is a rewarding project that can enhance the beauty and functionality of your outdoor space. By following these steps, you can ensure a successful installation that will stand the test of time.
If you need any advice on which products to choose for a porclain installation or want to check you’re on the right track, just get in touch with our family-run team. We offer incredible deals for bulk buys. Delivery is available throughout mainland UK, with next day delivery also an option.
Sharing tips that make your life a whole-lot easier is an important part of what we offer here at The Paving Experts. But it’s always still important for you to check and follow the manufacturer’s instructions before applying any materials in case of any adjustments or differing suggestions.


