Revamp the look and feel of a driveway or pathway using block paving. Read our complete guide on how to lay block paving, covering in detail what tools and equipment you’ll need and essential things to consider.
About block paving
Block paving is a fairly easy and visually stunning way of surfacing a driveway or garden path.
Because of the smart and stylish pavers used in block paving, it can provide your property with an aesthetic edge that can add value to your home. In fact, a block driveway can on average add between 5% and 10% extra value.
Based on the average UK house price in August 2022 of £296,000 (ONS), this means a block paved driveway could add up to £29,600 to the price of a house.
When laid properly following the recommended step-by-step process (we’ll go into this a little later), block paving is a robust paving solution that can withstand vehicle traffic.
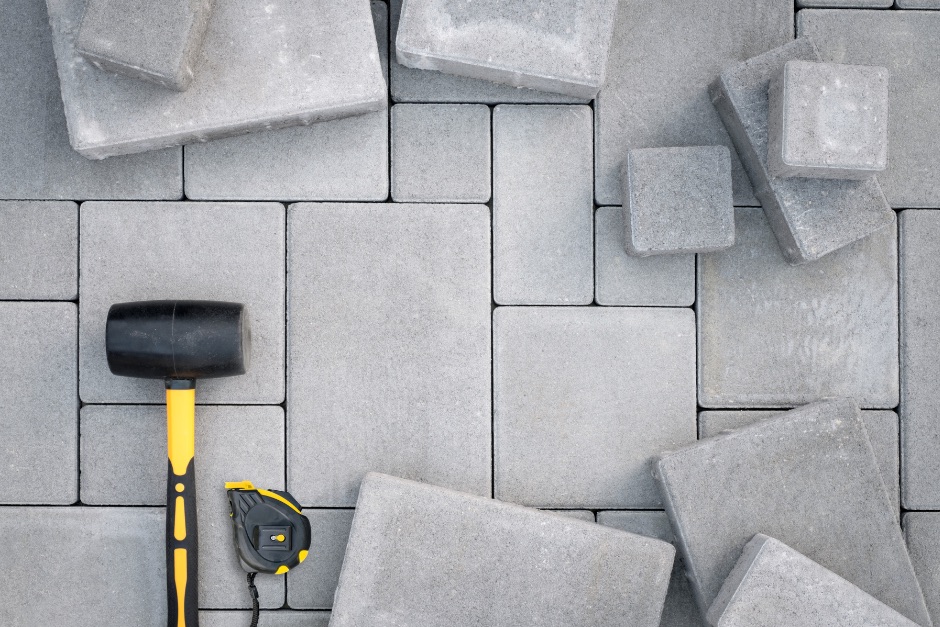
Essential tools for block paving
For laying block pavers you will need the following tools and equipment. Most of these tools can be found in the average home or tool shed:
- Broom
- Rake
- Chalk and line marking paint
- String line and pegs
- Screed poles
- Shovel or spade
- Pick axe
- Tape measure
- Spirit levels
- Rubber mallet
- Wheelbarrow – try one with non-puncturing tyres!
Equipment for installing block pavers
When installing block pavers, you are likely to also need:
- Cement mixer
- Block cutter such as the cutters from Belle or Probst
- Plate compactor such as the Belle Streetworks Compaction Plate
What materials do I need for block paving?
Block paving is available in a wide choice of stylish pavers and edging to suit any type of landscape or overall finish you want to achieve.
You’ll also need other materials to ensure your driveway includes a solid surface structure to bear the weight it will receive.
When installing block paving you’ll need to purchase:
- Block pavers
- Edge restraints for the paved area
- MOT Type 1 hardcore aggregate for the sub-base
- Sharp sand
- Jointing sand or kiln-dried sand for the joints
- Cement and ballast for edging foundations
- Potentially a permeable geo-textile membrane (read on for more info)
When you follow the correct steps for installing block pavers, you will help to avoid problems happening in the future such as sunken pavers or other issues.
Things to consider before you get started
Put your design on paper
Before you start buying materials, you must first start with a simple plan of the area and where your block paving will be laid.
Measure up first to get all of the relevant dimensions together for the path or paved driveway.
Know where any gas or water pipes are
When creating your plan, it’s important to outline where any underground services are such as gas pipes or water pipes.
By knowing where these are located, you can ensure that any excavation work does not interfere with them. Any damages can create hefty repairs via the service companies. Be in the know and brief your team.
Also make a note of where manhole covers or other important access routes are and build them into your plan.
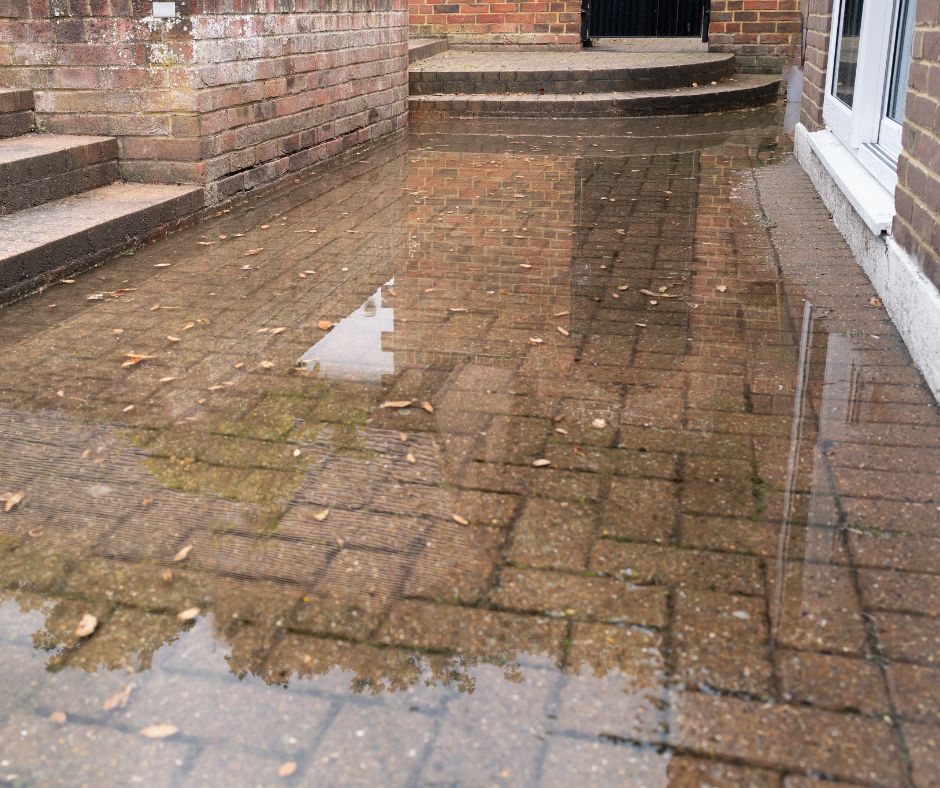
Consider drainage channels
Following new legislation introduced in 2008, planning permission is required for any new hard surfaces on properties that are impermeable and more than five square metres in size.
There are ways around this, so don’t let this little fact scare you off.
You can choose to use permeable block paving that allows rainwater and run-off to drain through them.
Another method to avoid planning permission is to use a soakaway to drain away any surface water. These are fairly easy to install and when done properly with silt vents do not require any further maintenance.
When creating a soakaway, consider the lay of the land and where surface water will naturally drain to.
Silt vents and underground pipes are used to divert water to the underground soakaway, ensuring the above-ground landscape is still aesthetically pleasing.
Consider using a membrane below the sub-base
You may need to use a membrane beneath the sub-base of the driveway to stop the added materials merging with the sub-soil.
If the sub-grade is particularly weak, a membrane will reduce the likelihood of future settlement and rutting on the finished surfaces.
Use a permeable geo-textile separation membrane that has been manufactured for the purpose of separating sub-soil from sub-base.
How to lay block paving – step by step
Once you’re happy with your drawn-up plans and have all the tools and materials ready, it’s time to start work.
Follow our step-by-step guide on how to lay a block paved driveway or path.
Step 1: Excavate at least 150mm
Excavate the area where your paving is being laid, to at least 150mm below the damp proof course of the house.
Either use a pick axe or shovel for the excavation. For large areas, save time by hiring a JCB or mini excavator.
Follow the lay of the land to ensure you’re still digging out to a depth of 150mm if the land rises or falls.
If the land is completely flat, you’ll need to incorporate a gradual slope for surface water run-off to drain away from the area. For every 60cm of paving add a 1cm drop.
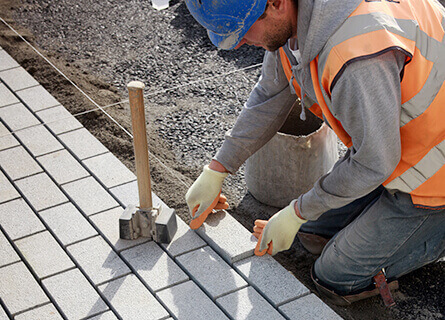
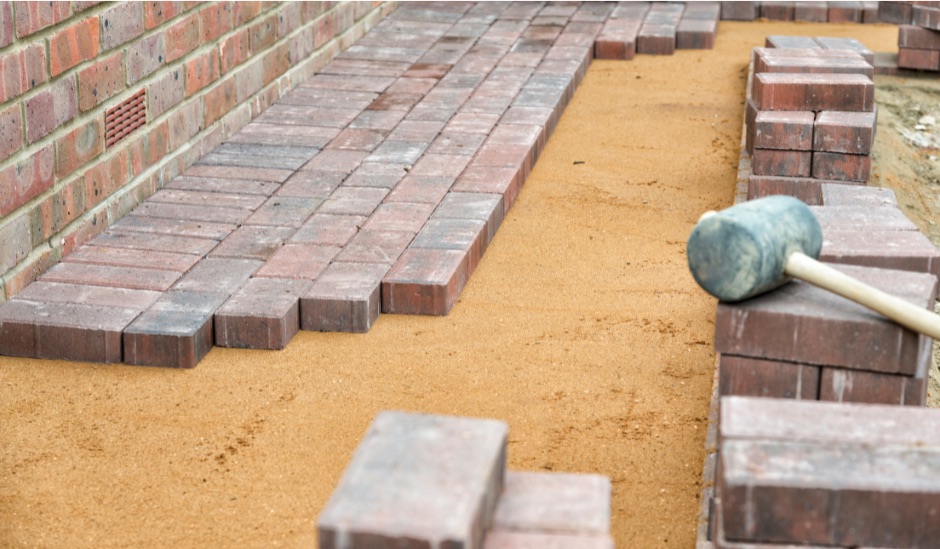
Step 2: Add edge restraints
Kerbs or edging stones are extremely important when laying block paving. Edging helps to hold the drive together, so it must be installed before adding the sub-base.
The foundation for the edging needs to be 100mm thick. Measure-up to see where the edging stones will sit, setting a taut string line to the height of the finished pavers.
Using the concrete mixer, combine one-part cement to six-part ballast.
Add 25mm of the concrete mix to the foundation and place the kerb on top of it. Lightly hammer the edge into place, checking with a spirit level to ensure the surfaces are level.
Then, apply more of the concrete mix to the outside of the stones, up to about half-way up the blocks.
Alternative to cement mix for edging stones
If you don’t have a concrete mixer, you could instead use Eco-Bed bedding mortar as a quality foundation for kerb stones.
Eco-Bed from Ultrascape is a pre-blended environmentally friendly fine bedding mortar.
Suitable for areas subjected to vehicle traffic, the mortar adheres to the demands of BS 7533 and can even offer a construction life of up to 40 years.
Step 3: Add your sub-base
The sub-base is an essential layer to add below block paving to ensure the finished surface is strong enough to support the weight of people and vehicles.
Apply a layer of MOT Type 1 hardcore aggregate at a depth of 100mm.
One way of improving the structural integrity of your driveway is to add the sub-base in layers.
Apply a 75mm layer of MOT Type 1 and compact it using a wacker plate. Repeat six or seven times to fully pack down the sub-base.
Step 4: Add the sand
Sand then goes on top of the sub-base to fill the gap between the sub-base and the top of the pavers.
The sand must be damp enough to compact. Take a handful and squash it into a ball. If the ball stays intact, the sand contains enough moisture. However, if it falls apart in your hand then it’s not suitable for the job.
Add a 50mm layer of sand and compact using the wacker plate before screeding it using screeding poles, available as a 13-metre set and 25-metre set. Both are designed to use in conjunction with the stand-up screeding set, the EP-UNI from Probst.
Make sure you allow an extra 3–5mm from the finished top surface as the blocks will be compacted down.
Step 5: Lay the block pavers
Lay your pavers starting from a corner at the bottom of the slope, or from one of the borders. Each paver will need to sit 3–5mm above the final surface to allow for compaction.
When laying a block, place it about halfway down the edge of the adjacent block and run it straight down into position. Placing the blocks in this way means you avoid digging them into the sand, which will create gaps in the finished surfaces.
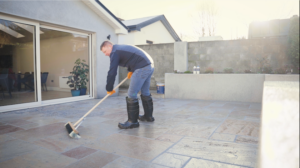
Step 6: Apply the jointing sand
Use the broom to brush the kiln-dried jointing side across the surface of the paving and into the joints.
Compact the paving using the wacker plate. You’ll need to add more sand and repeat the compaction process a few times until the joints are filled.
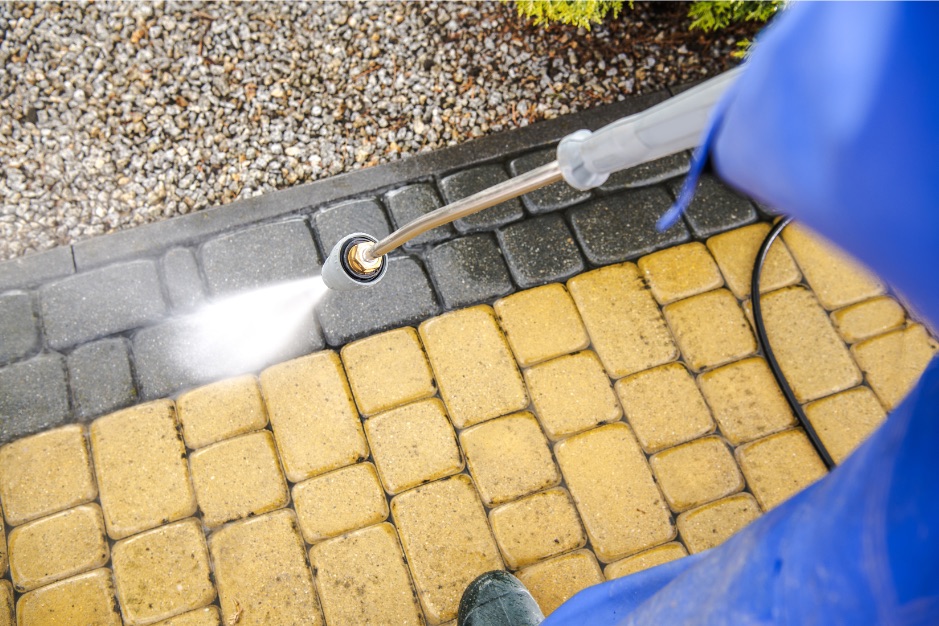
How to care for block pavers
You may want to consider sealing the block pavers with a quality sealant to reduce the effects of weathering and general wear and tear.
Weed growth can also be limited by applying a sealant.
Apply a sealant
Easy Seal BCS from Azpects is a high-quality sealant that works by penetrating the surface of the pavers to stabilise the jointing sand and provide a coating that is wear-resistant.
With a slight glossy effect, Easy Seal will enhance the colour of your block paving driveway.
Another superior block paving sealant is PaveCare Pro-810 by Nexus to enhance, seal and protect the pavers.
Suitable for sealing natural stone and concrete pavers, this sealant offers an invisible matte finish.
The Pro-810 is suitable for use with pressure washers and can be used to seal natural stone or concrete.