There are a few different products on the market to grout a patio, but the process in principle is not dissimilar.
If your patio is looking a little tired and neglected and in need of some serious TLC, if there are weeds and moss and your outdoor space is feeling a little shabby, it’s not too difficult to smarten it up by re-grouting your paving slabs.
You can follow this simple 10 step guide, on the best way to grout a patio.
- Remove the moss & mildew from the surface of your paving slabs, then remove the weeds & excess dirt from the joints to ensure that they are free of debris
- Sweep the entire patio to ensure that you remove and dirt, dust and debris – a little extra effort will ensure that your grout doesn’t get contaminated and looks fresh and clean in the joints
- Saturate your patio area with water, but the key is the area should be moist, it shouldn’t have lots of surface ponded water
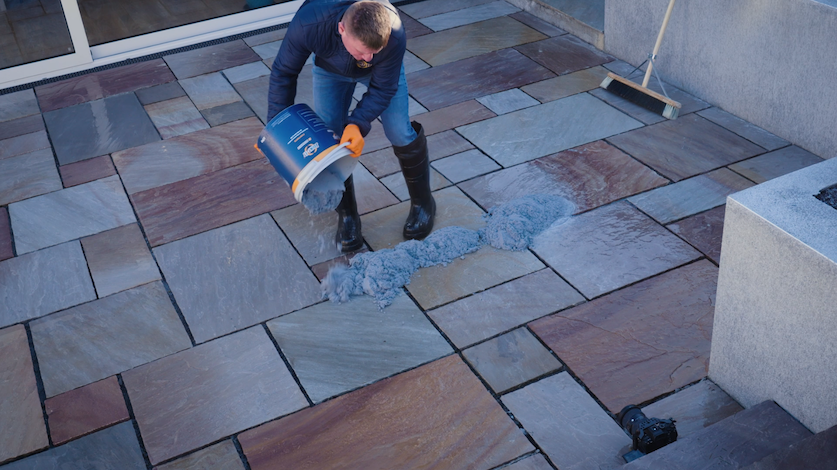
- Mix your chosen patio & paving grout in a bucket a little at a time, if using a flowable slurry grout such as Flowpoint you are looking to achieve a cake-like batter mix consistency, if you are using a sweep in or brush-in grout like EASYjoint it’ll come ready mixed so you simply pour and go
- Pour your grout mortar over the paving slabs, start to work in a small area at a time so you can keep the area moist and work the product into the joints fully
- Use a squeegee to push the grout into the joints, or a broom to sweep the compound where it’s needed in between the paving slabs
- Ensure that your patio slabs stay slightly damp to reduce the possibility of staining, keep working the grout into the joints so that it all of the little gaps are filled fully to avoid any cracking
- If using a brush-in grout strike the joints to compact them and give them an even finish, and sweep up any residue and dispose of it carefully
- If you are using a slurry grout once the joints start to firm after approx 15 minutes you can start to lightly wash the grout of the surface of your slabs, using the squeegee to loosen the material and then after 30 minutes (dependant on how hot it is) you’ll be able to give the area a good wash and clean
- Finally, give the area one additional clean, taking care if you are using a pressure washer and a give the patio area a firm brush down to clean the last little spots of grout off your patio or terrace.
How long the patio & paving grout will take to cure, or set firmly, depends on the weather conditions in which it is laid, it’s always important to follow the manufacturer’s instructions carefully, and ideally have someone with you – grouting a patio is so much easier with two people.
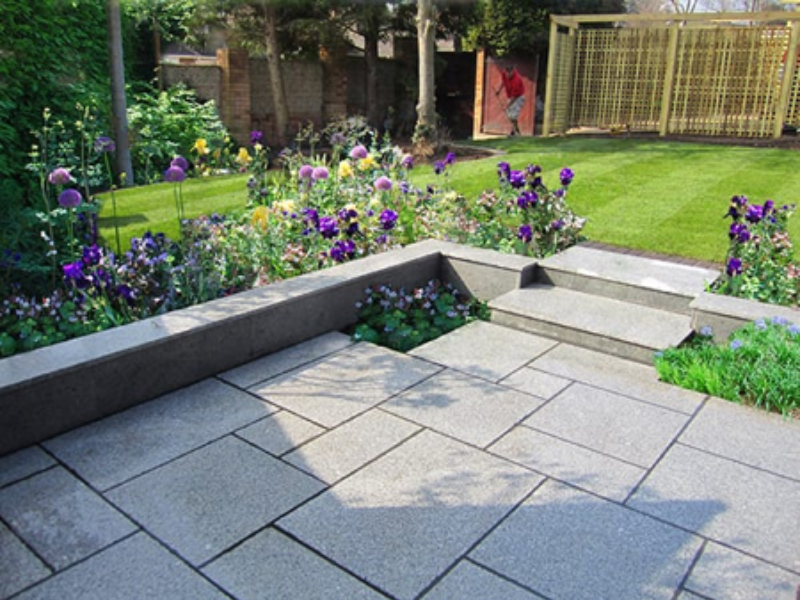
What you should be left with is a beautifully grouted, fully refurbished patio that will be weed free for years to come, and an attractive, tidy and welcoming outdoor space for you to enjoy whenever the great British weather allows!